
In today’s digital era, expanding your business to various e-commerce platforms is essential for reaching a wider audience and maximizing your sales potential. This step-by-step guide will walk you through the process of onboarding on six leading e-commerce platforms, namely Amazon, Flipkart, Myntra, IndiaMART, Meesha, and Snapdeal.
Each platform has its own unique requirements and strategies to succeed, and this guide will provide you with the knowledge to get started and thrive.
1. Amazon
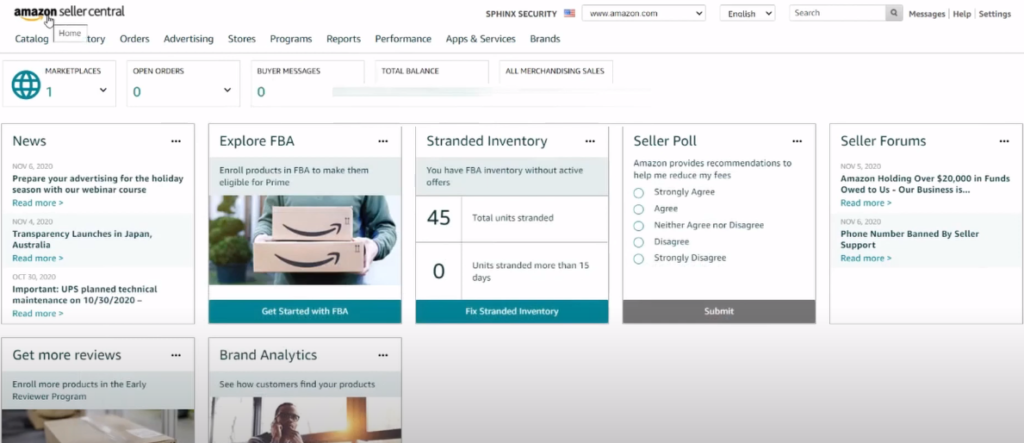
Step 1: Visit the Amazon Seller Central website
Go to https://sell.amazon.in/ and click on the “Register Now” button to begin the onboarding process.
Step 2: Create a Seller Account
Follow the prompts to create a new seller account. Provide accurate information about your business, including your legal name, address, contact details, and business type. Ensure that you choose the correct marketplace and language preferences.
Tip: Be sure to review Amazon’s seller policies and guidelines to understand the requirements and obligations of a seller on the platform.
Step 3: Set Up Your Storefront
After creating your account, you’ll be directed to set up your storefront. Customize your storefront to reflect your brand by adding a logo, brand images, and a compelling store description. This helps create a professional and trustworthy image for your customers.
Tip: Optimize your store design by using high-quality images, clear and concise descriptions, and relevant keywords that align with your target audience’s preferences.
Step 4: Product Listing
To list your products, click on the “Add a Product” button within your seller account. Enter the required information for each product, such as product title, description, images, pricing, and inventory details. Provide accurate and detailed information to help customers make informed purchasing decisions.
Tip: Ensure that your product listings are optimized by using relevant keywords in titles and descriptions. This improves the visibility of your products in search results and increases the chances of attracting potential buyers.
Step 5: Amazon SEO
To improve your product’s visibility on Amazon, it’s essential to optimize your listings for search engines within the platform. Conduct keyword research to identify relevant and high-traffic keywords for your products. Incorporate these keywords naturally within your product titles, bullet points, and descriptions.
Tip: Utilize Amazon’s sponsored ads and promotions to further boost your product’s visibility and increase sales.
Step 6: Review Management
Positive customer reviews are crucial for building trust and credibility. Encourage your customers to leave reviews by providing excellent customer service and following up with them after purchase. Respond promptly and professionally to customer feedback, whether positive or negative and address any concerns or issues raised.
Tip: Consider implementing an automated feedback request system that sends polite reminders to customers, asking them to leave reviews for their purchased products.
Step 7: Inventory Management
Efficient inventory management is essential to avoid stockouts or overselling. Set up inventory management systems or software to track your stock levels and receive alerts when it’s time to replenish inventory. Utilize Amazon’s inventory management tools, such as FBA (Fulfillment by Amazon) if applicable, to streamline your inventory operations.
Tip: Regularly analyze sales data and market trends to forecast demand and optimize your inventory levels. This helps prevent stock shortages or excess inventory.
By following these steps, you’ll be able to successfully onboard Amazon as a seller and start selling your products on one of the world’s largest e-commerce platforms.
2. Flipkart
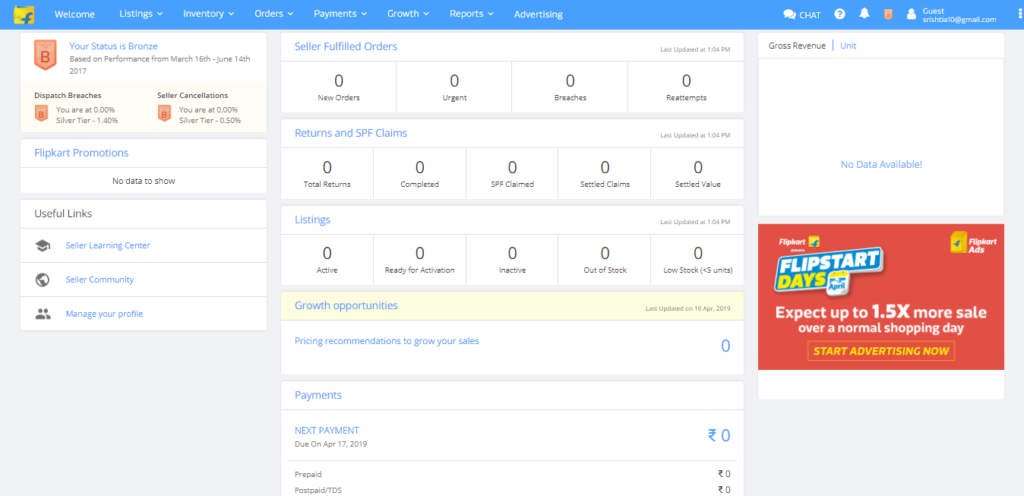
1. Visit the Flipkart Seller Registration Page:
- Go to https://seller.flipkart.com/ in your web browser.
- Click on the “Register” button to start the registration process.
Tip: Before starting the registration process, ensure you have all the necessary business documents and information readily available. This will help streamline the onboarding process.
2. Provide Your Business Details:
- Enter your business name, email address, and mobile number.
- Select the business type (individual or company) and enter the relevant details.
- Provide your GSTIN (Goods and Services Tax Identification Number) if applicable.
Tip: Ensure that you enter accurate and up-to-date information to avoid any issues during verification.
3. Complete the Verification Process:
- Verify your mobile number and email address through OTP (One-Time Password) verification.
- Upload the required documents, such as business registration certificates, PAN cards, bank account details, and canceled cheques.
Tip: Double-check the document requirements on the Flipkart seller portal to ensure you have all the necessary documents ready for upload.
4. Choose Your Business Model:
- Select your business model: Flipkart Advantage or Self-Ship.
- Flipkart Advantage: Allows Flipkart to store and fulfill your products, providing faster delivery and increased visibility. It involves additional charges and specific requirements.
- Self-Ship: You handle product storage, packaging, and shipping.
Tip: Consider the size of your business, logistics capabilities, and product types to choose the most suitable business model.
5. List Your Products:
- Create product listings by providing accurate and detailed information for each product.
- Include high-quality product images, compelling descriptions, and relevant attributes.
- Set competitive pricing for your products.
Tip: Conduct market research to understand the pricing and competitive landscape. Offering competitive prices can attract more customers.
6. Optimize Your Listings:
- Enhance product visibility through effective optimization techniques.
- Incorporate relevant keywords in your product titles, descriptions, and attributes.
- Use high-quality images and ensure proper categorization.
Tip: Perform keyword research to identify the most relevant and popular search terms used by Flipkart customers. Incorporate these keywords strategically in your listings.
7. Set Up Pricing and Promotions:
- Choose your pricing strategy based on factors like competition, product costs, and profit margins.
- Explore Flipkart’s promotional tools, such as discounts, offers, and bundle deals, to attract more customers.
Tip: Monitor the market and adjust your pricing and promotions periodically to stay competitive and maximize sales.
8. Manage Orders and Fulfillment:
- Monitor your seller dashboard for incoming orders.
- Ensure timely order processing, packaging, and dispatch.
- Coordinate with courier partners for smooth delivery.
Tip: Implement an efficient order management system to streamline fulfillment processes, ensuring prompt delivery and customer satisfaction.
By following these steps, you’ll be able to successfully onboard Flipkart as a seller and start selling your products on their platform.
3. Myntra
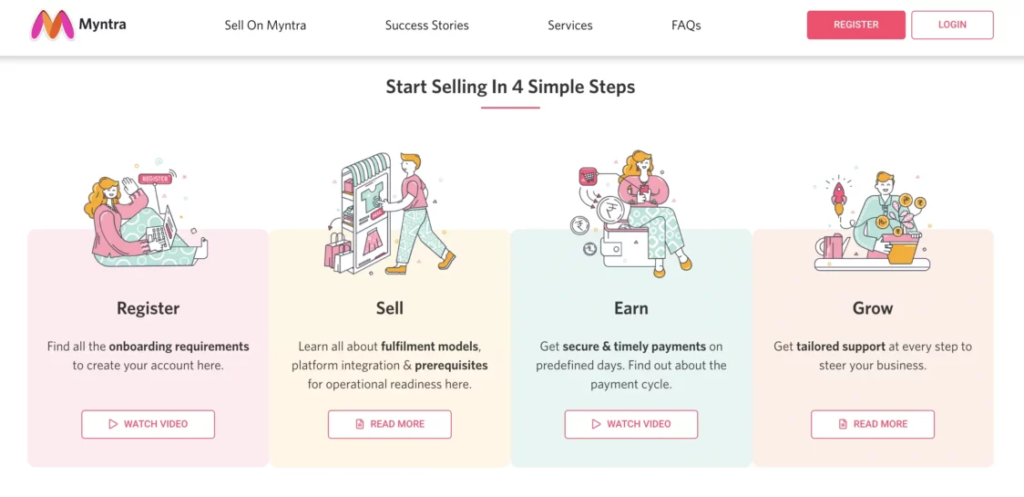
Step 1: Visit Myntra Seller Registration Page :
Go to the Myntra seller registration page by visiting their official website:
Tip: Before proceeding, ensure you have all the necessary documents and information required for registration, such as your business registration details, PAN card, bank account details, and product catalogs.
Step 2: Understand Myntra’s Seller Requirements and Policies :
Thoroughly read and understand Myntra’s seller requirements, policies, and guidelines. Familiarize yourself with the terms and conditions, commission rates, return policies, and any other relevant information provided by Myntra.
Tip: Take note of any specific product categories or brand restrictions imposed by Myntra. Ensure that your products align with Myntra’s target audience and style preferences.
Step 3: Register as a Seller :
Click on the “Register Now” or similar button on the Myntra seller registration page to begin the registration process. Provide your business details, including your company name, contact information, and business registration documents.
Tip: Double-check the accuracy of the information you provide during registration to avoid delays in the verification process.
Step 4: Complete the Seller Onboarding Process :
After registering, you will need to complete the seller onboarding process. This typically involves verifying your identity and business details. Myntra may request additional documentation to ensure the legitimacy of your business.
Tip: Keep your documents handy and promptly respond to any requests from Myntra to expedite the verification process.
Step 5: Create a Catalog of Products :
Once your seller account is verified, you can start creating your product catalog on Myntra. Provide accurate and detailed information for each product, including product titles, descriptions, attributes, and high-quality product images.
Tip: Use clear and attractive images that showcase your products in the best possible light. Write compelling and accurate descriptions that highlight the unique features and benefits of your products.
Step 6: Optimize Product Listings for Visibility
To improve the visibility of your products on Myntra, optimize your product listings. Conduct keyword research related to your products and incorporate relevant keywords naturally into your product titles and descriptions.
Tip: Use descriptive and specific keywords that potential customers are likely to search for. However, avoid keyword stuffing, as it can negatively impact your listing’s quality.
Step 7: Maintain Competitive Pricing
Set competitive prices for your products on Myntra. Research the market and analyze the pricing strategies of your competitors. Ensure your pricing is attractive to customers while also considering your profit margins.
Tip: Regularly monitor the prices of similar products on Myntra and adjust your prices accordingly to stay competitive.
Step 8: Participate in Myntra’s Promotions and Campaigns :
Myntra frequently runs promotions and campaigns to attract customers. Take advantage of these opportunities by participating in special promotions, discounts, or seasonal campaigns offered by Myntra.
Tip: Plan your inventory and marketing strategies in advance to align with Myntra’s promotional events. This can help you maximize sales and visibility during peak periods.
Step 9: Efficiently Manage Orders and Fulfillment
Once your products are listed on Myntra, you’ll start receiving customer orders. Ensure you have a streamlined order management system in place to efficiently process and fulfill orders within the specified timelines.
Tip: Communicate proactively with customers regarding order updates, shipping details, and any potential delays. Providing excellent customer service can help build trust and loyalty.
4. IndiaMART
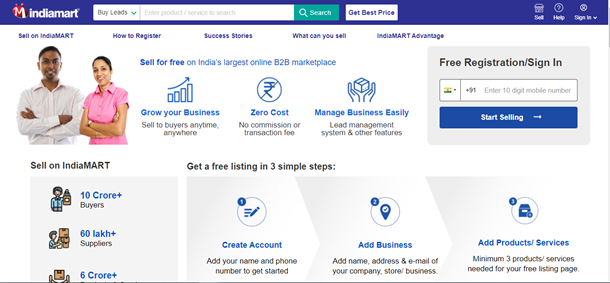
IndiaMART is one of the leading B2B e-commerce platforms in India, connecting buyers and sellers across various industries.
Onboarding as a seller on IndiaMART involves a few important steps to ensure a smooth and successful entry into the platform. Here’s a detailed guide on how to onboard on IndiaMART:
Step 1: Visit the IndiaMART Seller Portal
Go to the official IndiaMART seller portal by visiting https://seller.indiamart.com/. This is the dedicated platform where you can create your seller account and manage your products.
Step 2: Sign up as a Seller
Click on the “Sign Up” button on the homepage of the IndiaMART seller portal. Fill in the required details such as your business name, contact information, and email address. Create a strong password to secure your account.
Tip for B2B: Provide accurate and detailed information during the sign-up process, as it builds trust and credibility with potential buyers.
Step 3: Complete the Seller Verification Process
IndiaMART requires sellers to undergo a verification process to ensure the authenticity of businesses. Provide the necessary documents and information as requested by IndiaMART during the verification process. This may include business registration documents, identity proofs, and tax-related documents.
Tip for B2B: Ensure all your business documents are up to date and readily available for the verification process. This helps in establishing trust with potential buyers.
Step 4: Create a Company Profile
Once your seller account is verified, you can proceed to create your company profile. Provide comprehensive information about your business, including your company’s background, products/services offered, certifications, awards, and contact details. This profile will help buyers understand your business better.
Tip for B2B: Highlight any unique selling points or competitive advantages of your products/services in your company profile. This can attract potential buyers looking for specific features or benefits.
Step 5: Showcase Your Products
IndiaMART allows sellers to showcase their products or services through product listings. To create a product listing, click on the “Add Product” option and provide all the necessary details, including product name, description, images, pricing, specifications, and relevant keywords.
Tip for B2B: Emphasize the key features, specifications, and benefits of your products/services in the listing description. This helps buyers understand the value proposition and make informed purchasing decisions.
Step 6: Manage Inquiries and Respond Promptly
IndiaMART acts as a bridge between buyers and sellers, generating inquiries from potential customers. As a seller, you need to actively manage these inquiries and respond promptly. Monitor your inbox regularly and provide timely and personalized responses to inquiries. Engage with potential buyers, address their concerns, and offer relevant information to help them make a purchase decision.
Tip for B2B: Personalize your responses to inquiries and offer value-added information or insights related to the buyer’s industry or requirements. This demonstrates your expertise and builds trust with potential buyers.
Step 7: Utilize IndiaMART’s Paid Promotion Options
IndiaMART provides various paid promotion options to enhance your product visibility and reach a wider audience. Explore these options, such as premium listings, sponsored listings, and banner advertisements, to increase your chances of attracting potential buyers.
Tip for B2B: Identify the most relevant promotion options based on your target audience and industry. Conduct regular performance analysis to optimize your promotion strategy and maximize your return on investment.
Conclusion :
Onboarding on Myntra as a seller involves understanding the requirements, registering, completing the verification process, creating a catalog, optimizing listings, setting competitive prices, participating in promotions, and efficiently managing orders.
5. Meesho
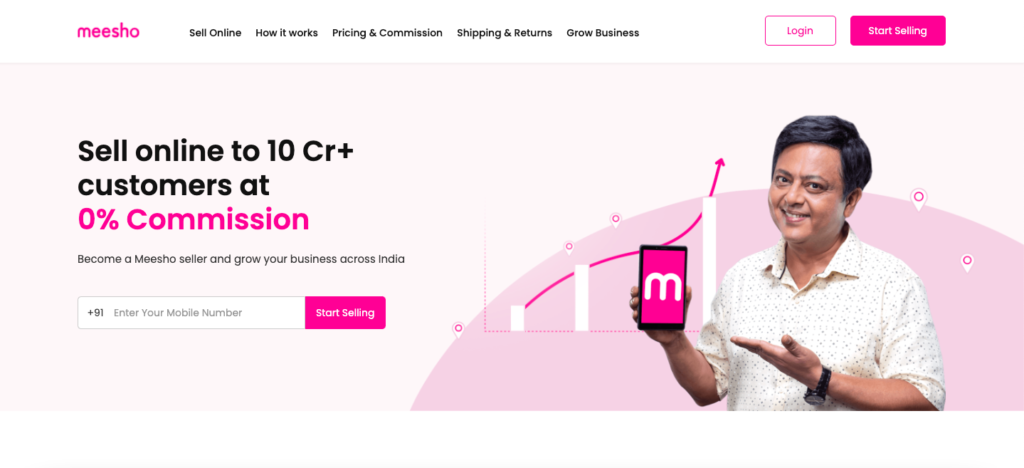
Step 1: Visit the Meesho Supplier Registration Website
To begin the onboarding process, go to the Meesho Supplier Registration website (https://supplier.meesho.com/). This is where you will create your seller account.
Step 2: Register as a Supplier
Click on the “Register as a Supplier” button on the Meesho Supplier Registration website. You will be prompted to enter your contact information, business details, and other relevant information. Fill in all the required fields accurately.
Step 3: Complete the Verification Process
Meesho requires sellers to complete a verification process to ensure the authenticity of their businesses. You will need to provide supporting documents, such as your business registration certificate, PAN card, and bank account details. Follow the instructions provided by Meesho to upload the required documents.
Step 4: Create a Product Catalog
Once your seller account is verified, you can start creating your product catalog on Meesho. Provide detailed information about each product, including high-quality images, accurate descriptions, pricing, and available variations, if applicable.
Step 5: Optimize Product Listings
To improve the visibility of your products and attract more customers, optimize your product listings on Meesho. Use relevant keywords in your product titles and descriptions to enhance searchability. Additionally, choose appropriate categories and subcategories for each product.
Step 6: Engage with Customers
Meesho provides various communication channels to interact with customers. Respond to customer inquiries, address their concerns, and provide timely assistance. Building strong relationships with customers can lead to repeat business and positive reviews.
Step 7: Manage Orders and Ensure Timely Delivery
Once you start receiving orders on Meesho, it’s crucial to manage them efficiently. Ensure that your inventory is updated regularly and promptly fulfill orders. Communicate with customers regarding order status and shipping details to provide a seamless buying experience.
6.Snapdeal :
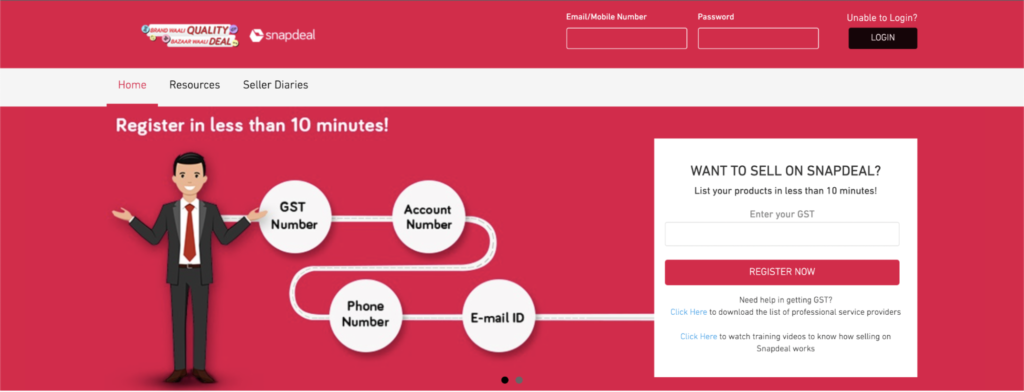
Step 1: Visit the Snapdeal Seller Portal
To begin, visit the Snapdeal Seller portal at https://sellers.snapdeal.com/. This is where you will initiate the onboarding process.
Tip: Before proceeding, ensure you have all the necessary documents and information readily available. This may include your business registration details, bank account information, product catalog, and relevant certifications.
Step 2: Register as a Seller
On the Snapdeal Seller portal, locate the “Register” or “Sign Up” button and click on it. Fill in the required details, including your name, email address, mobile number, and create a secure password. Accept the terms and conditions, and then click on the “Register” button.
Tip: Choose a strong password that combines letters, numbers, and special characters to ensure the security of your account.
Step 3: Complete Seller Verification
After registering, you will need to verify your seller account. Snapdeal may require you to submit certain documents to validate your identity and business. These documents typically include proof of address, business registration certificates, and bank account details.
Tip: Ensure that the documents you provide are clear, legible, and up to date. Double-check all information before submitting to avoid any delays in the verification process.
Step 4: Set Up Your Seller Profile
Once your account is verified, it’s time to set up your seller profile. Provide accurate and comprehensive information about your business, including your company name, contact details, and return policies.
Tip: Craft a compelling and informative seller profile that highlights your unique selling points. This will help build trust and attract potential customers.
Step 5: Create Product Listings
After setting up your seller profile, you can start creating product listings on Snapdeal. To do this, access the seller dashboard and navigate to the “Catalog” section. Click on “Add New Product” to begin listing your products.
Tip: Ensure that your product listings are detailed, accurate, and optimized for search. Include high-quality product images, clear descriptions, and relevant keywords to improve visibility and attract potential buyers.
Step 6: Utilize Snapdeal’s Promotional Tools
Snapdeal offers various promotional tools to help sellers increase product visibility and boost sales. Explore these tools within the seller dashboard, such as sponsored ads, deals of the day, and special promotions.
Tip: Experiment with different promotional strategies and closely monitor their impact on sales. This will allow you to optimize your marketing efforts for better results.
Step 7: Streamline Order Processing and Fulfillment
Once your product listings are live and orders start coming in, it’s crucial to streamline your order processing and fulfillment operations. Snapdeal provides a dedicated section within the seller dashboard to manage orders.
Tip: Invest in robust inventory management systems and establish efficient fulfillment processes. Promptly update order status, ensure timely dispatch, and provide accurate tracking information to customers for a seamless buying experience.
Step 8: Monitor Customer Feedback and Address Issues
Snapdeal values customer feedback and encourages sellers to actively engage with customers. Regularly monitor customer reviews and ratings, and promptly address any issues or queries raised by customers.
Tip: Respond to customer feedback in a professional and customer-centric manner. Addressing concerns promptly and providing satisfactory solutions can build trust and loyalty among customers.
By following this step-by-step guide, you can successfully onboard as a seller on all these Ecomm Platfroms. Remember to optimize your product listings, leverage promotional tools, streamline order processing, and maintain excellent customer service. With a strong presence on these E-Comm Platfroms, you can expand your customer reach and grow your business effectively.
FAQs:
● Use high-quality images that showcase your products.
● Craft compelling and accurate product descriptions.
● Incorporate relevant keywords in your listings for better search ranking.
● Monitor and respond to customer reviews and feedback.
● Participate in promotional campaigns and sponsored ads to enhance visibility.
● Implement inventory management systems or software to track stock levels and ensure timely replenishment.
● Regularly sync inventory quantities across platforms to avoid overselling.
● Utilize platform-specific inventory management tools and features, such as Amazon’s FBA (Fulfillment by Amazon) or Flipkart’s Smart Fulfillment, for streamlined order fulfillment.